Enamelling is an age-old art form present in the UK since the 1740s. Originally, enamel boxes were produced in factories in the West Midlands, and they showcased simple designs such as flowers, landscapes, and portraits depicting members of Georgian high society.
By the 1770s, enamels boasted more ornate rococo style designs. However, their production gradually waned in correlation with the drop-off in the habit of taking snuff as well as the welcome decline of smallpox for which the boxes, when fitted with an interior mirror, aided in the application of black beauty spots to scars. By 1840, the craft lay dormant and remained so until Halcyon Days’ revival of it over a century later in 1970.

Today, our enamels are entirely handmade using techniques that largely mirror those first used hundreds of years ago. In fact, were an artisan from the 18th century to look over the shoulder of one of our current craftsmen or women in our West Midlands factory, they would find little unfamiliar to them.
Let’s look at the six stages of the process…

1. Shaping and Washing the Copper
Fine sheets of copper are pressed into shapes corresponding to the box they will become. The sheets, raw bases, and lids are then washed in a solution containing soapy water and acid. This stage is known as ‘pickling’ and it removes any impurities so that the copper may take on its first layer of enamel.

2. Enamelling and Firing
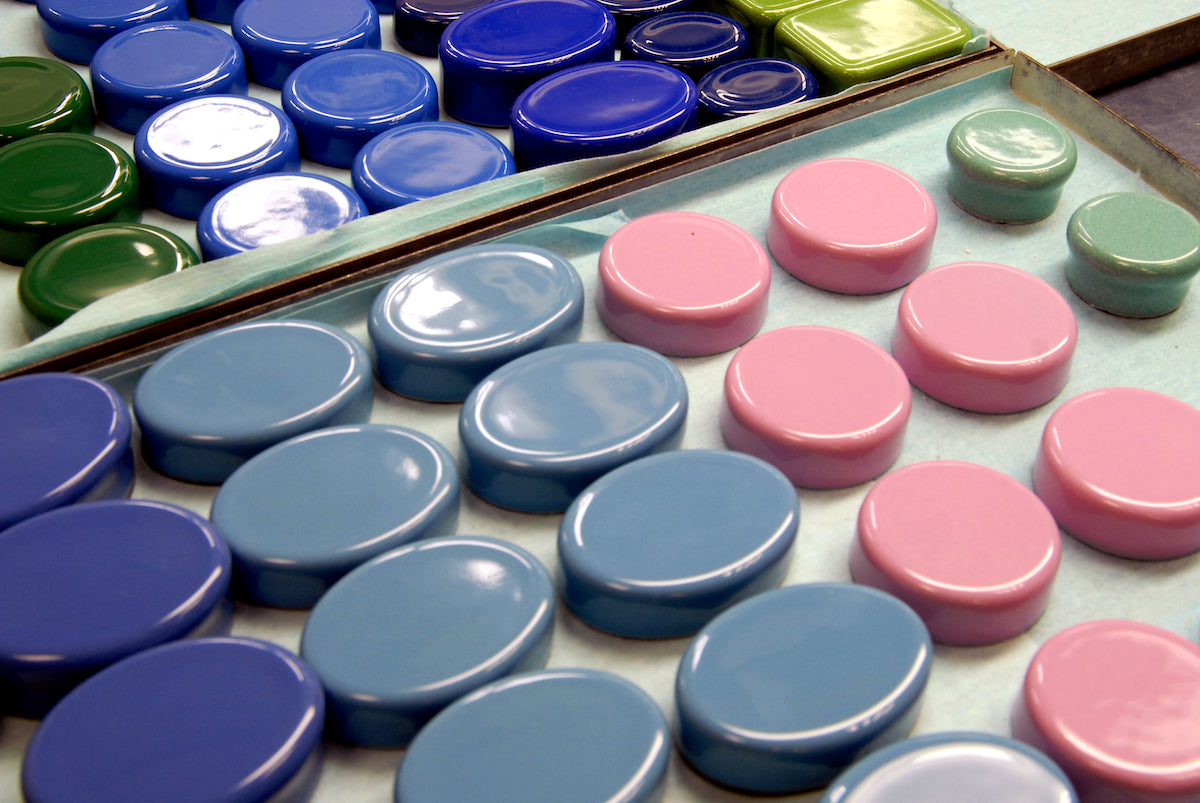
The copper pieces are then either dipped in or sprayed with liquid enamel which is a precise mixture of water, clay, paint, and fine particles of glass known as ‘frit’. They are then fired at 800°c so that the enamel liquid fuses with the copper. Dipping and firing is repeated at least five times and, in the intense heat of the kiln, debris or metallurgic reactions can damage or chip the enamel meaning the whole process must begin again. For a box to progress to the next stage, a delicate balance of skill and timing is required.

3. Lithographic Transfer
Once the pieces come out of the kiln and pass an initial quality check, a lithographic outline of the box’s design is applied to be used as a guide for the painters. Occasionally, this lithograph will also imprint some of the box’s colours. Two long-serving Halcyon Days craftswomen are responsible for this stage, and they do it with such mastery that they give it a deceiving air of ease. The box is then fired in the kiln once more.

4. Painting
A team of exceptionally talented artists are behind the hand-painting of our enamels which, depending on the intricacy of their design, can take between a few hours and a few days to complete. A special form of enamelling paint is used made from ‘frit’, metal oxides, and oil. The same techniques found in oil painting are used but in miniature form. Next, the enamels receive one final firing.

5. Assembling the Enamel
The lid and base pieces are carefully assembled and glued to a gold or palladium plated mount. Any edges that need levelling out are shaved down via a process called ‘linishing’.

6. Quality Inspection
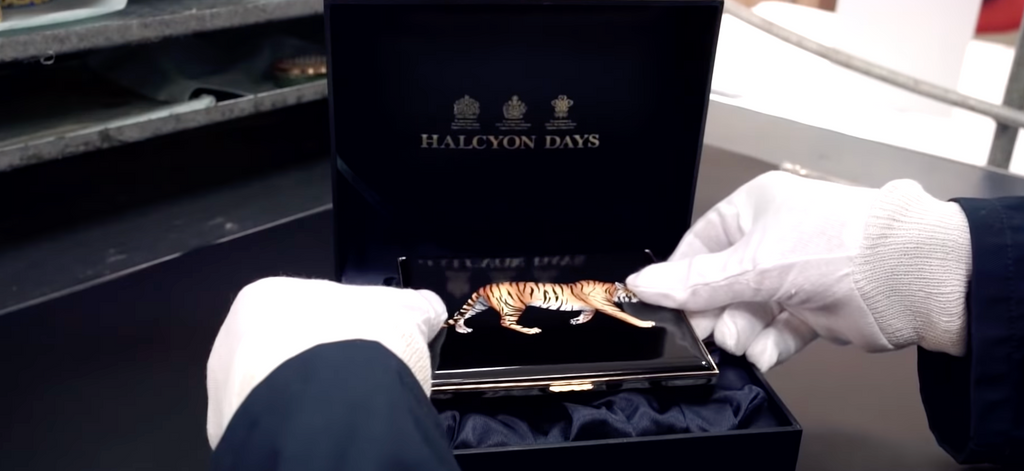
While stringent quality checks are present at every stage, one final, thorough check is carried out to ensure there are no blemishes or irregularities. Finally, the enamel is fitted in a presentation box and given its corresponding certificate of authenticity. In all, each box is handled roughly one hundred separate times before passing out of our factory doors.
Our finished enamels take many different forms including message boxes, annuals, limited editions, and they can even be created entirely bespoke.
If you’ve enjoyed learning about the complicated and cherished English art form of enamelling, let us know below in the comments. Equally, we’d love to hear your topic suggestions for future blog posts in the comments or on our Instagram @halcyondays_uk


2 comments
This was a fascinating read. Great to learn more about a historical craft.
All so interesting and enlightening- thank you.
Leave a comment